The mesh ombre necklaces Martha and I made on the show last week are up for grabs!
Tuesday, March 8, 2011
Monday, March 7, 2011
wirelace ombre necklace photo how-to
1. To create an ombre effect, select four strands of different color beads. I purchased 6mm fresh water pearls from Stone International, here in NYC. Ombre is a gradation of color tones and can be achieved in any palette. This necklace starts with white pearls fading into a deep brownish pink.
2. Decide whether you prefer the gradation to go from light to dark or dark to light. Separate and arrange your beads into eight equal portions to create 4 new beaded strands. Whether it's the dark or light color that ends up in the middle, double up your eight portions of that bead.
3. String beads on thin monofilament (0.01- inch gauge).
4. Your 4 strands should look similar to the above. These strands are 16" in length.
5. Be sure to leave about six inches of extra monofilament at the ends of each strand. To secure the end beads firmly on the strand, feed the end of the monofilament around and back through the bead. Do this on all ends of your strands.
6. Line up the four strands of beads and, using electrical tape, tightly tape one end of each of the four strands to one end of a thin double-pointed knitting needle. To prevent snagging on WireLace, make sure tape completely covers all ends of monofilament.
7. Choose a color of 6mm Wirelace that complements your gradient. For this palette I used a yard of blush.
9. Insert the knitting needle into the other end of Wirelace and remove, keeping the Wirelace in a tubular form.
10. Feed all four strands of beads through one end of the Wirelace. The knitting needle will help pull the strands through.
11. Carefully guide the knitting needle through the yard of Wirelace until it is out the other side. Center the strands in the WireLace by smoothing it out over the beads.
12. Remove tape and detach strands from knitting needle.
13. Determine the length of your necklace and fold ends of WireLace to mark ends. Using a small hook of fine-gauge wire, pull each WireLace loop through a metal cone end cap. With jewelry pliers, attach jump rings to each loop and attach lobster claw clasp to one jump ring.
14. Trim any extra WireLace and monofilament hanging out of end caps and squeeze a drop of all-purpose adhesive into each end cap to secure loops.
15. Now you have a pearl necklace like Martha!
For a video how-to, visit marthastewart.com.
Wednesday, March 2, 2011
wire lace ombre pearls
Phew. The Craft Show happened and it was an exciting morning!
Here's a few photos of the pearl gradient necklace encased in wirelace that I taught Martha how to make.
More how-to photos to come.
Tuesday, March 1, 2011
crafting hour on MARTHA!
Mark your calendars to watch the craft hour on The Martha Stewart Show, live at 10am Wednesday on the Hallmark channel!
It is so amazing to be able to work with such talented people at Martha.
Hosanna, who leads the craft department at TV, is a craft fail solver—I always go to her for suggestions, opinions and advice on the work I am producing for the show. I trust her aesthetic, and her experience with working in so many mediums is impressive. Before becoming a full time crafter for Martha over 10 years ago, Hosanna studied photography, but her passion is really in fabricating jewelry.
We have two Dartmouth graduates in a craft department of four. Figgy thinks like a scientist and sometimes I can't understand what he is talking about. If he wasn't testing alum to form crystals or mixing borax to make goo, he should probably just start a lab—he'd be really good at figuring out the perfect concoctions! Check out some of his kits at Professor Figgy.
We are very bummed to be missing Kirsten for the craft hour. She is literally about to give birth. Another smarty pants, Kir is great with words and writes all our craft how-to's for the web. Before she bailed on us to have a baby, she made an awesome solar system mobile—soon to be a demo on an upcoming show. The sewing crafts often fall in Kir's lap—she is an expert quilter. Her meticulousness and accuracy boggles my mind—look at these silk tie pillows she quilted—they are impressive!
The craft hour is going to be a fun show with interesting projects, good techniques and a glossary of the must have craft tools!
Sunday, February 27, 2011
beading beading beading beading beading
I have been beading for 2 days straight—non-stop—for my segment on Wednesday in the Martha Stewart craft hour! I can't wait to show you how every turns out.
Thanks Meli for straining you eyes all day to help me get this done!
Thursday, February 24, 2011
we're not kids anymore
Artwork Ashley did in the 4th grade, about 20 years ago!!!!
What?!
We're adults?!?!?!
Used to have a mohawk, now Ashley's bald.
Are we getting old?
Wednesday, February 23, 2011
factory craft
On March 2, Martha is dedicating an entire hour to crafting!
We are very excited to share a few new ideas, talk about our favorite tools and materials, and see what the most popular crafts are. Stay tuned!!! Its going to be a good show full of DIYs!
It's intriguing to think about all the people that make things in the world. Homosapiens' ability to use tools and create new things is is quite amazing. Our species has mastered the art of making. To think about everyone that goes to work each day and makes something?!? Look at what you are wearing for example. Someone cut the fabric and stitched together your pants or printed the graphic on your shirt whether it was a large factory in China or a self employed artisan in Brooklyn. There are millions of "crafters" out there!
Photographer John Spinks documented the people and factories that produced garments for a UK label—a glimpse into what we don't normally think of when we think of crafting.
Theses shots definitely got me thinking about how almost everything is man made——crafted.
Monday, February 21, 2011
banner card & garland
I'm not the best card maker. In fact, I kind of hate making cards, hate filling cards out and often don't even attach one to a present I am giving.
Ashley's father turned 60 though and I thought some thoughtful words was the best gift I could give—so I made a card.
I scored a piece of red card stock with a bone folder and ruler. On the fold, I cut small triangle flags so they were double-sided. With an adhesive roller, I secured and sandwiched a piece of baker's twine between. The ends of the twine were knotted and glued to the inside of the card. Simon was spelled with letter stickers.
When the card is open & standing, the banner hangs.
I didn't want to write anything inside the card to distract from the banner surprise so I wrote on the back.
With circle punches, I punched Ashley's and my face out of a photo and used word bubble stickers for Happy & Birthday (photo taken before I wrote it in).
This past weekend, we celebrated two more Birthdays, at my apartment. I made a similar flag banner but this time on a bigger scale.
For this, I cut triangles from card stock and used a screw punch to punch holes in the top corners. Two colors of seam binding were threaded through and used to hang it.
Easy craft projects can make big impressions.
Simon, Amanda and Noah all loved their birthday flag garlands, big or small.
Happy Birthday.
Sunday, February 20, 2011
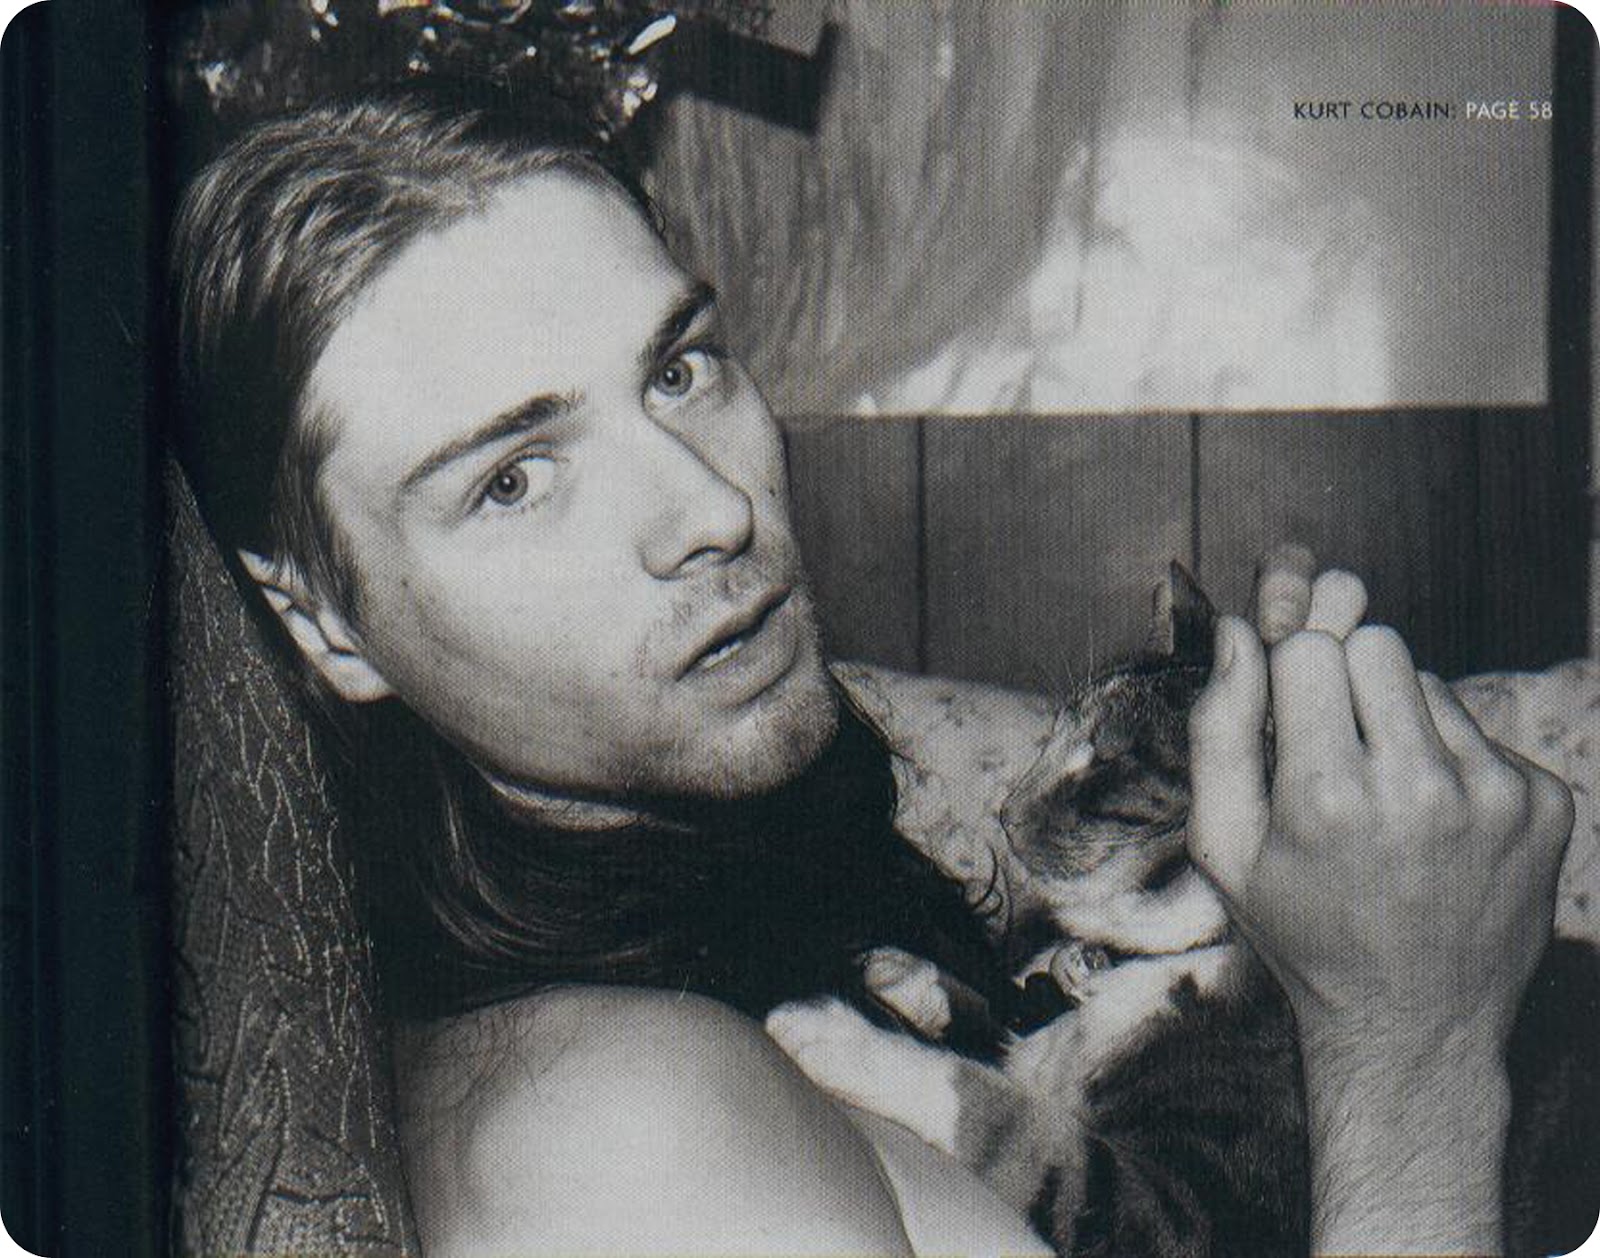
Pisces
If he only knew he was celebrated every year on February 20th by so many people around the world. I'm not sure he would have been able to handle that fact.
oh well, whatever, Happy Birthday Kurt Cobain.
ox
Subscribe to:
Posts (Atom)